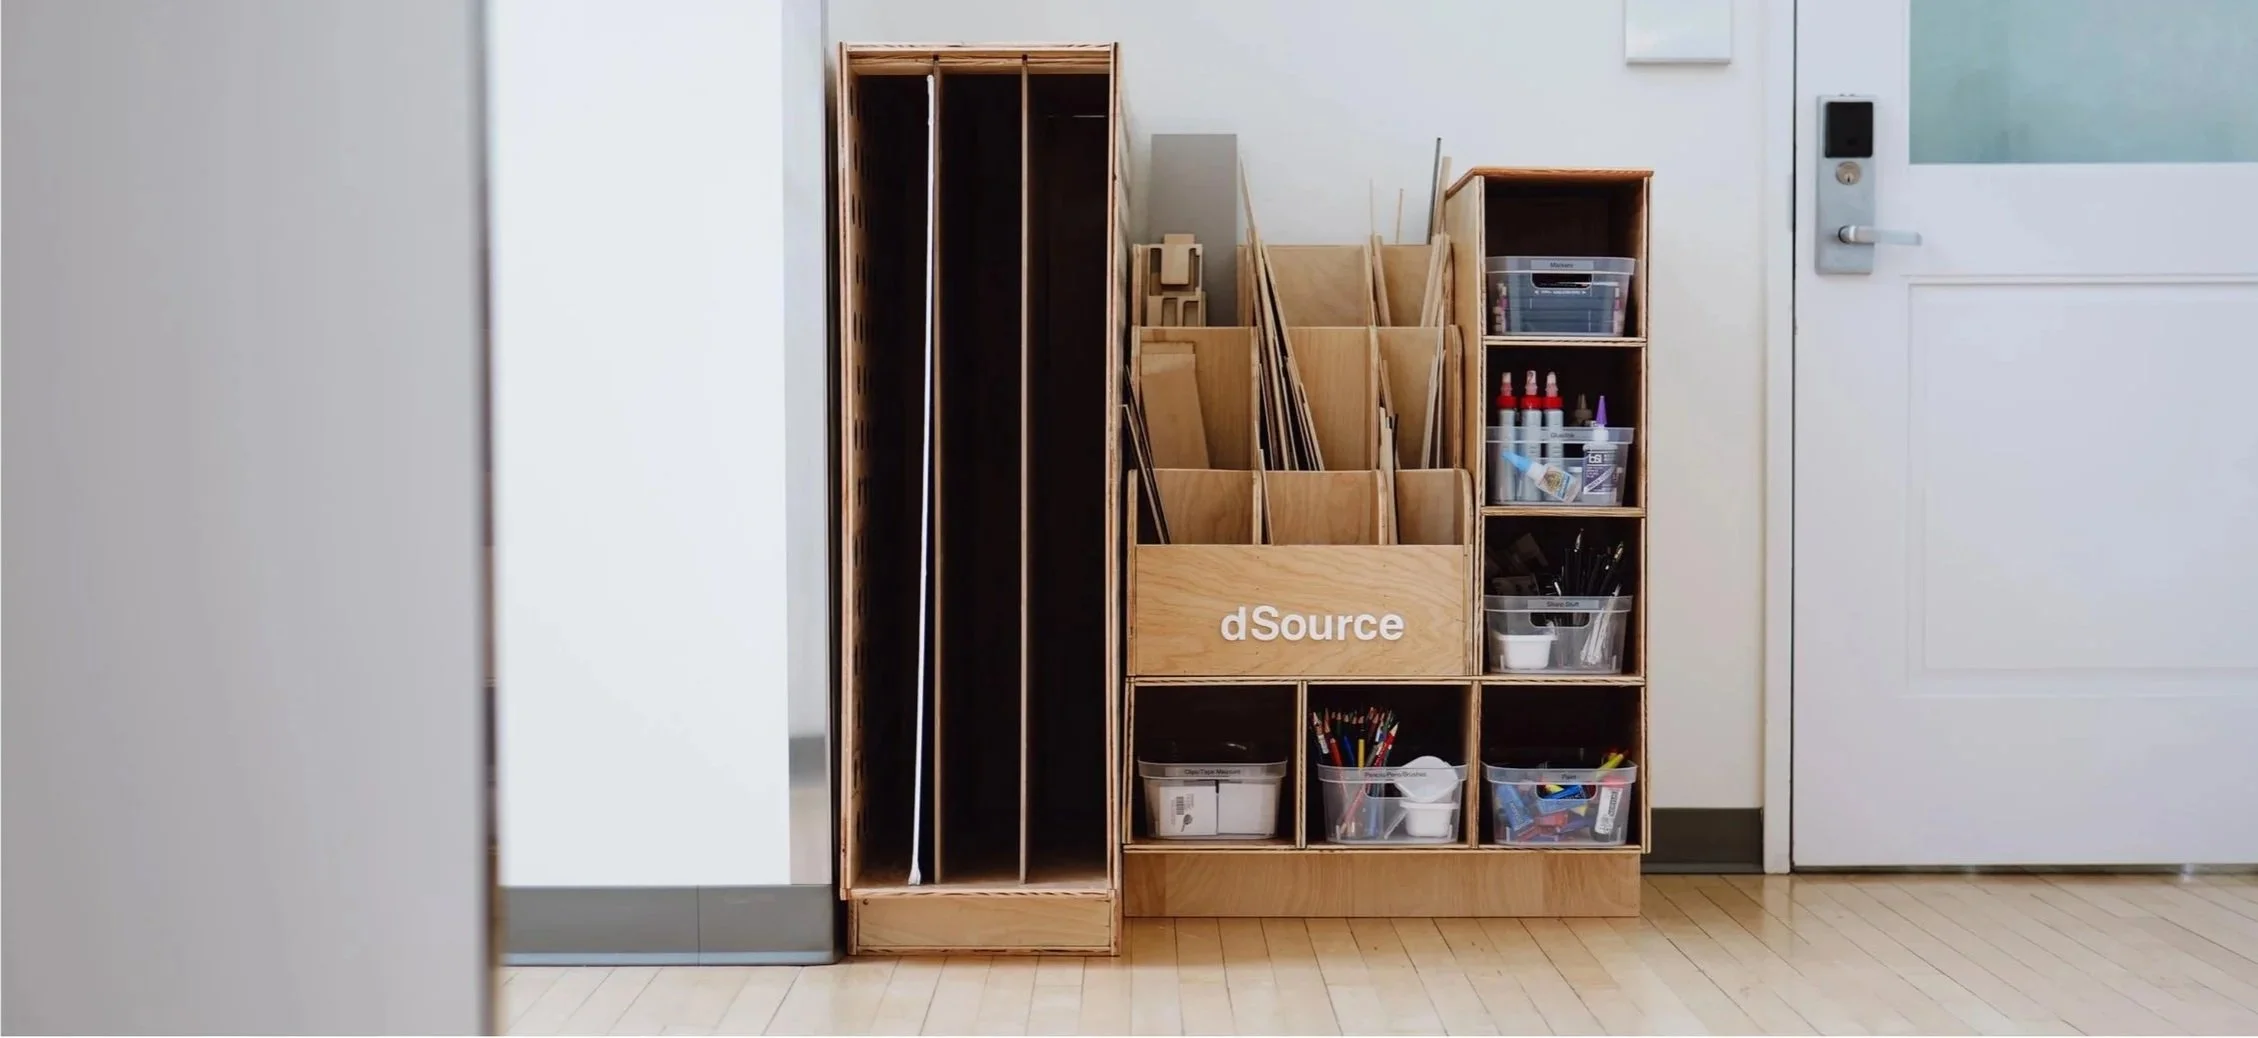
dSource
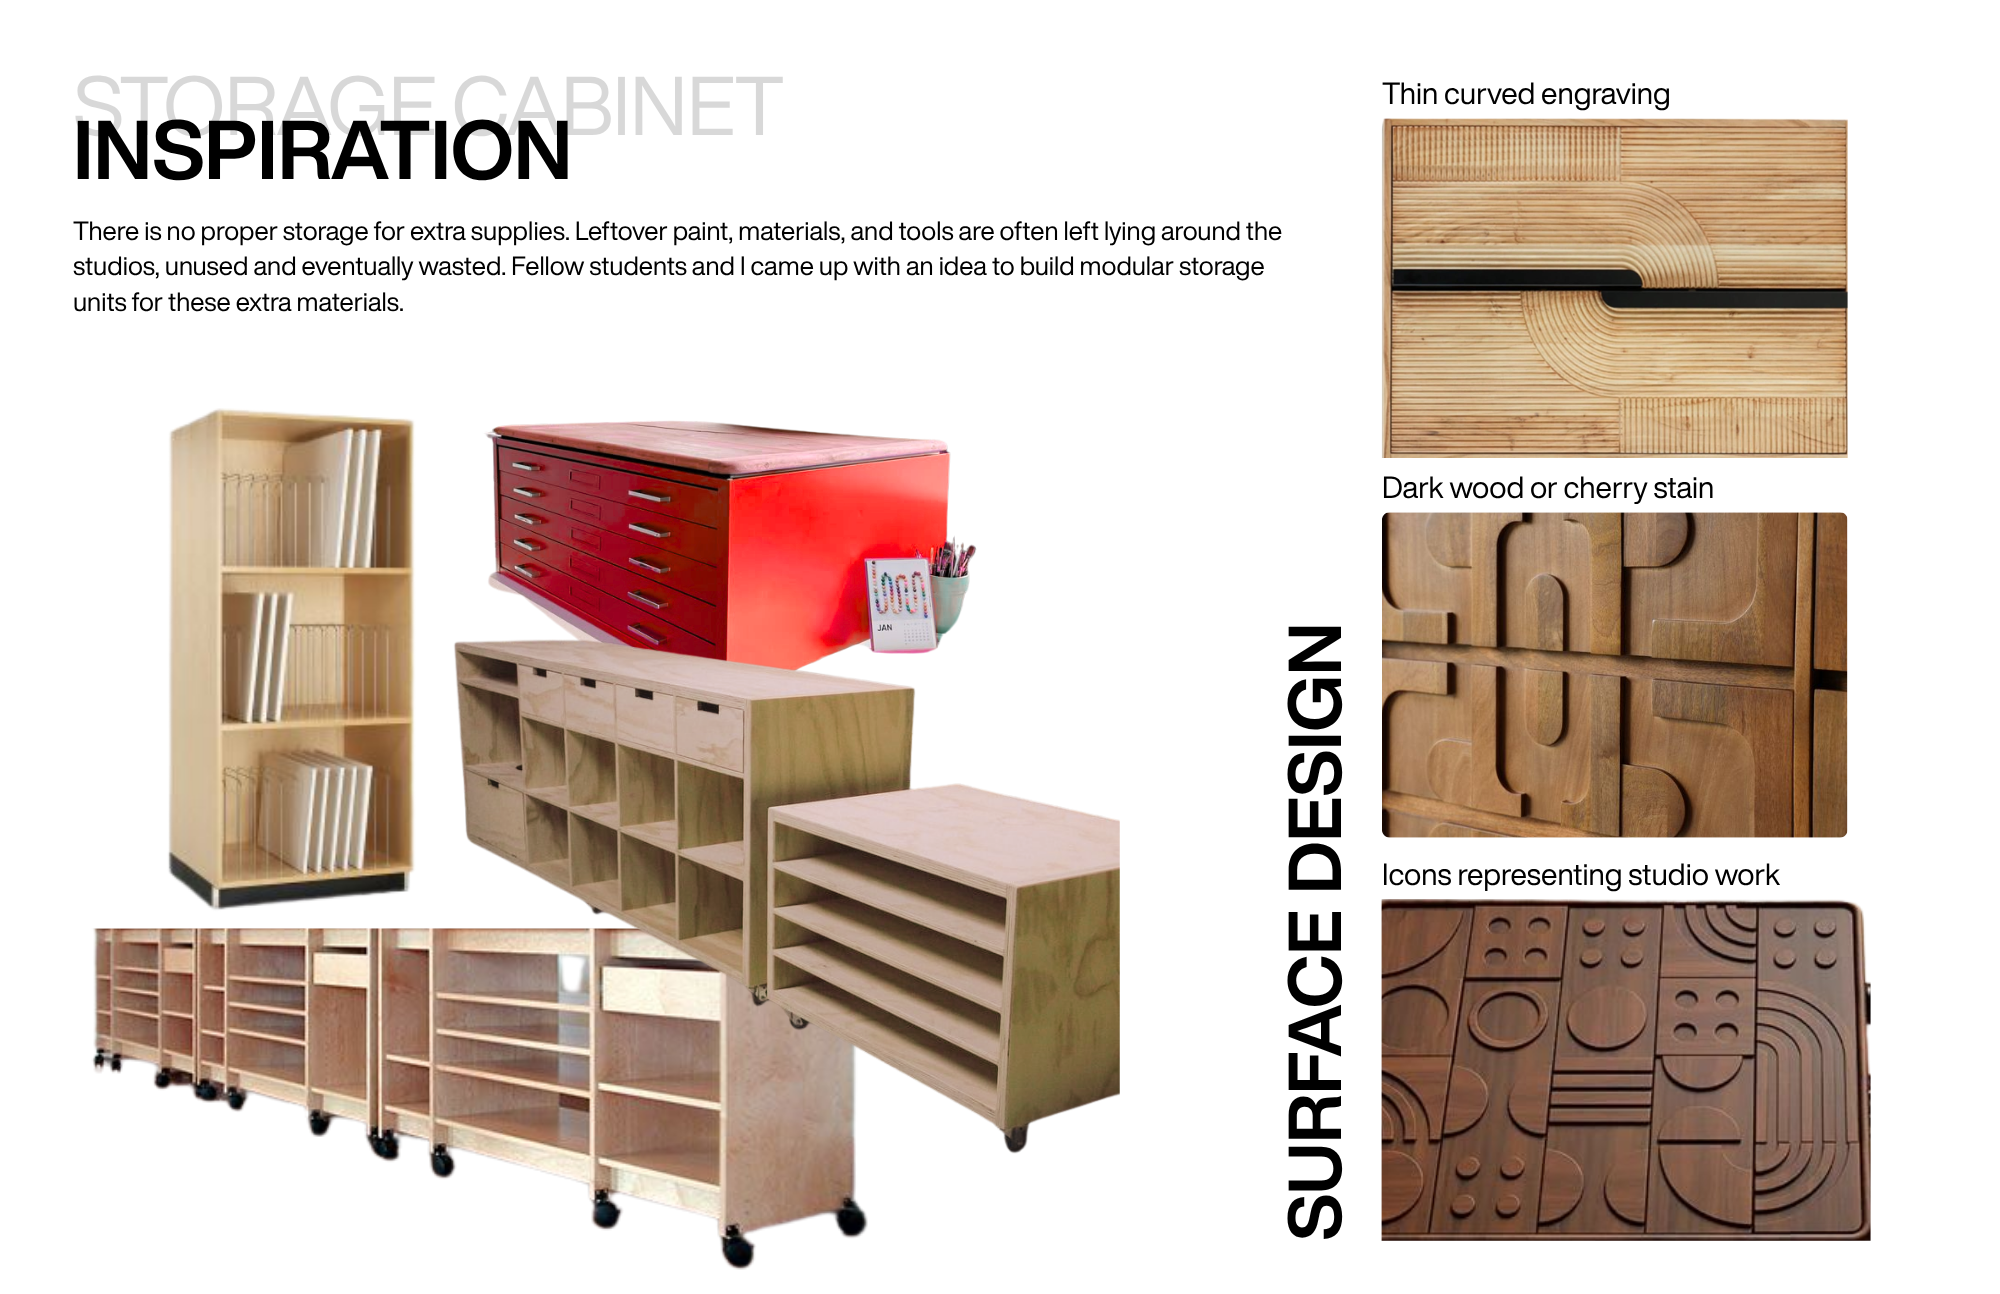
A group of fellow design majors and I noticed a common problem: there is no proper storage for extra supplies. Leftover paint, materials, and tools are often left lying around the studios, unused and eventually wasted. Wanting to be more responsible and sustainable designers, we built modular storage units for leftover materials. I focused on designing and building the unit for large materials like foamcore, museum board, cardboard, acrylic, and wood.
Tools: Adobe Illustrator, Woodworking
programming.
During the programming stage, we conducted research and gathered inspiration through Pinterest.

sketches.
We explored several ideas based on our research, but given the space constraints, the most practical solution was a vertical storage system. To accommodate the limited space, we consolidated the six planned materials into three sections. This not only ensured enough room for the materials to be displayed clearly but also allowed users to comfortably reach in and grab them.

half-scale model.
We built half-scale models out of cardboard and museum board to test how our modular pieces would fit together and to anticipate potential issues before constructing the full version. Through this process, we discovered that some of our dimensions were off, causing misalignment between pieces. We also realized the depth of the units interfered with the hallway pathway, something we had not accounted for. These insights led us to adjust the design so all materials could fit inside without sticking out or blocking movement. We also identified the need for ventilation in the large materials section. As a last-minute solution, we added a circular cutout pattern that both addressed airflow and echoed existing design motifs in the building. Making physical models was incredibly helpful; without them, we would not have caught these problems.

final product.
These images show both the process and final result of our modular storage unit. After finalizing the dimensions, joinery, and layout, we built the units using recycled wood from the shop. We laser cut, sanded, finished, and assembled each piece, making the project an engaging hands-on experience that deepened my understanding of furniture design and woodworking.
One unexpected challenge came with finishing the inside edges of the laser-cut holes. Our initial plan was to sand them smooth, but the shop lacked the right tools. Instead of forcing a solution, we embraced the contrast and used wood stain to even out the tone. Another issue arose when we nailed down the base too early, before attaching the side panels. We had to improvise by hammering the panels into nails already in place, a risky step but ultimately successful.
Midway through, we also reinforced the design by adding extra wood blocks to secure the center dividers, increasing stability even with the tracks already built in.
Overall, the process was incredibly rewarding. It was exciting to design and build something physical that others in our major will use—and even more meaningful to imagine these storage units remaining in use for years to come.